Getting Started with pest
In this chapter, we'll guide you through the process of setting up a new project and creating a
basic API using pest.
Code
The code for this tutorial is available on Github.
Each branch of the repository represents a chapter of this tutorial.
Installing the CLI
The first step is to install the pest CLI. Open your terminal and execute the following command:
While using the CLI is not mandatory, it simplifies the process of creating new projects. It doesn't need to be a dependency of your project; you can install it globally.
Creating a new project
Now that pest-cli is installed, let's kickstart our haunted-houses project:
This command creates a new pest project using poetry as the dependency manager. Ensure poetry is
installed on your machine for this to work. If you don't have poetry installed or don't want to
install it, you can omit the --dm poetry flag, and pest-cli will prompt you to choose a
dependency manager. As of the time of writing this tutorial, pest-cli supports poetry and
requirements.txt. If you prefer using a requirements.txt file, you can install the
dependencies with pip install -r requirements.txt, and you're good to go.
Running the project
Now that the project is created, let's install the dependencies:
Next, run the project:
Open your browser and navigate to http://localhost:8000 (opens in a new tab); you should see a JSON response similar to this:
Project structure
Let's take a look at the project structure generated by pest-cli:
- greeter_service.py
- hello_controller.py
- module.py
app_module.py
This file contains the main/root module of the application.
It instructs pest on how to locate the controllers and services within the application.
The main module can directly import other controllers or services, or it can import other modules
that define their own controllers and services. In this instance, the AppModule imports the
HelloModule, a feature module that encapsulates the "greeting" feature of the application.
📄 app_module.py
Here's how the app_module.py file looks:
from pest import module

from .hello.module import HelloModule


@module(
    imports=[HelloModule],
)
class AppModule:
    pass
The @module decorator defines a module, and the imports argument is used to import
other modules into the current module. In this case, we're importing the HelloModule into the
AppModule.
hello/module.py
This is a feature module, encapsulating a specific feature of the application.
In the case of HelloModule, it encapsulates the greeting feature, composed of a controller
(HelloController) and a service (GreeterService).
📄 hello/module.py
Here's how the hello/module.py file looks:
from pest import module

from .greeter_service import GreeterService
from .hello_controller import HelloController


@module(
    controllers=[HelloController],
    providers=[GreeterService],
)
class HelloModule:
    pass
The controller defines the routes of the application, and the service contains the
business logic. pest injects the service, making it available for injection across all
controllers and providers of the module. In this example, we have one controller and one
service, but you can have as many as needed.
hello/greeter_service.py
This file represents a provider. Typically, a provider or service contains the business logic of the application.
While a controller handles requests and returns responses on specific routes, a service manages the business logic.
In the usual workflow, a controller calls a service to handle the business logic and return a response to the client.
📄 hello/greeter_service.py
Here's how the hello/greeter_service.py file looks:
from pydantic import BaseModel


class Greet(BaseModel):
    """A greeting"""

    hello: str
    '''The greeting'''


class GreeterService:
    """The haunted house service"""

    def say_hello(self) -> Greet:
        """Say hello"""
        return Greet(hello="pest!")
This is a simple service that returns a greeting.
hello/hello_controller.py
This file serves as a controller, responsible for handling requests and returning responses on specific routes.
pest automatically invokes the appropriate route handler (a method of the controller) based on the
HTTP method and path of the request.
Typically, a controller delegates business logic handling to a service and returns a response to the client.
📄 hello/hello_controller.py
Here's how the hello/hello_controller.py file looks:
from pest import controller, get

from .greeter_service import Greet, GreeterService


@controller("/")
class HelloController:
    """say hello routes"""
    service: GreeterService  # 💉 injected

    @get("/")
    def say_hello(self) -> Greet:
        """Say hello"""
        return self.service.say_hello()
This defines a controller with a single route handler. The handler is triggered when a GET
request is made to the root path of the application. It calls the say_hello method of the
GreeterService and returns its response.
main.py
This is the entrypoint of the application. It contains the main function that starts the
application. Remember when we ran poetry run uvicorn haunted_houses.main:app --reload? The app.main:app
part tells uvicorn to look for the app module and the app variable inside the main.py file
and mount it as the root application.
📄 main.py
Here's how the main.py file looks:
import logging

from pest import Pest

from .app_module import AppModule

logging.basicConfig(level=logging.DEBUG)


app = Pest.create(
    AppModule,
    title='haunted-houses'
)
The Pest.create method creates a new Pest application, passing the AppModule as the
root module and the title of the application. The title will be then used as the
application's title in the OpenAPI specification (e.g. by Swagger UI).
OpenAPI
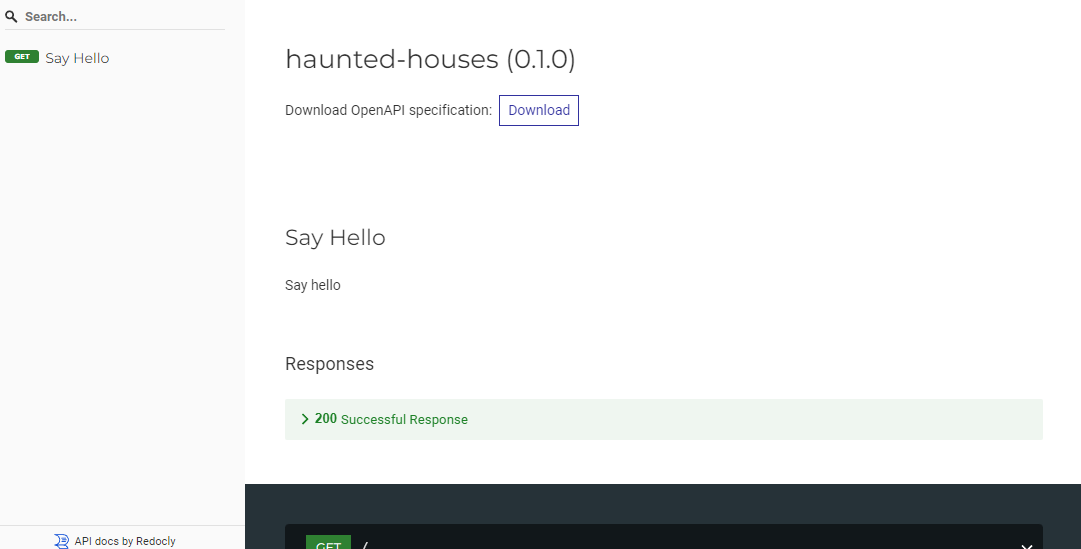
Thanks to FastAPI (opens in a new tab), pest automatically generates an OpenAPI
specification for your application and mounts a Swagger UI at /docs and a ReDoc UI at /redoc.
Conclusion
In this tutorial, we've learned how to create a new project using pest-cli, and we've delved into
each file generated by it, learning how they collaborate to create a simple API.
In the following chapters, we will modify this project to add more features and learn more about
pest.

